
Christmas 2020 was bad because we couldn’t visit our dear ones. Instead of having to do festive preparations we had lots of time to work on creative projects. My husband and I decided to make goodie bags for brothers and sisters which we would go and hand them at their doorsteps on Christmas eve. The goodie bags included home made food (pickled onions, Atjar Tjampoer, pickles and smoked salmon) and the bags were all home made felt bags.


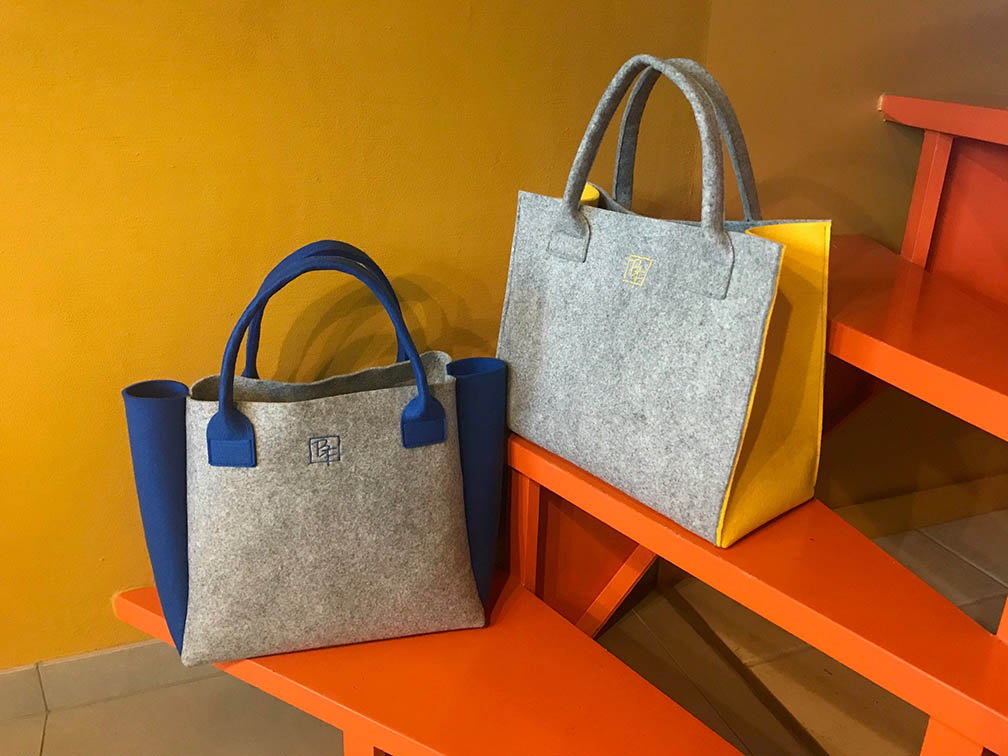
Most of the bags were of the same size, but by using sometime side seams at the outside or at the inside of the bag, the felt bags looked different.
I typically use felt of 3mm thickness. Felt can have a lot of different qualities, the nicest to use is woolen felt, but is not easy to find. Best is to buy felt in a shop where you can see the quality and the colors for yourself. Felt is very strong and very easy to work with. I make these bags with my normal sewing machine but with a thicker needle than normal.

You need to cut:
– 1 piece of 35 x 78 cm (front, bottom and back side)
– 2 pieces of 30.5 x 18 cm (left and right side of the bag)
– 2 pieces of 5 x 50 cm (handles)
Sewing instructions:
- Start by closing the handles :
Measure 7 cm from both ends of the handle and put a needle at both ends to mark the distance. Now fold the handle in the middle (longest side) and sew close to the edge to close the handle, leaving the 7 cm on both ends idle.
You can experiment with the shape on both ends (the 7 cm idle space). Sometimes I use square looking ends, sometimes I make them round or egg-shaped. - Position the handles at the top of the bag. The top of the bag is where the rectangular body piece measures 35 cm. Make sure the handle is positioned in a proper distance from the side and the top so that handle sticks out at the top of the bag and is not too close to the side seam. I typically make marks with a tailors chalk to make sure both sides of the handle are positioned symmetrically and that I can repeat the distances on the other side. Be careful, both handles should be on the same side of the body piece if it is flat on the table = the outside of the bag. Pin the handles in place and sew them on the felt. With the body piece still being flat, it is easiest to manipulate and sew the handles on.
- Now sew the side panel on starting from the top. On the opposite side of the body panel, do the same with the other side panel. New sew the 2 other seams of the side panel (not the bottom seam, just the side seam).
- Turn the bag inside out and sew the two bottom seams.
- Turn the bag back right, and done!
You’ll find felt bags are very strong and stand the weather well.
Enjoy!
